How to Prep Your Oregon City Home for Interior Painting: A Complete Checklist
Is your home ready for a fresh coat of color? Few things transform a space faster than new paint, but the real magic happens before the first stroke. That's where careful prep pays off—saving you stress, money, and surprise repairs down the line.
At Oregon City Painting, we’ve seen what happens when good prep gets skipped. Flaking paint, uneven walls, or stains bleeding through—no one wants those headaches. Here’s how to set your next project up for lasting success.
Why Proper Prep Matters for Interior Painting
Think of prep as the foundation of a house. Without it, even the fanciest paint can crack or peel. Paint needs a clean, smooth, and stable surface to last through Oregon’s seasons. Skimp on prep, and you risk seeing your hard-earned investment fade too soon.
Surface preparation is critical for paint adhesion and durability. According to the Painting Contractors Association (PCA), most paint failures are directly linked to poor prep—not inferior paint. A little extra effort now means fewer touch-ups later, and a finish that stands the test of time.
Oregon City-Specific Prep Considerations
Oregon City brings unique painting challenges. Our wet winters and humid springs are famous, and older homes here often have their own stories written in wallpaper, textured plaster, or lead paint. Here’s what to keep in mind:
- Humidity and Rain: Moisture can sneak into walls, especially after a wet season. Trapped water leads to blistering, mold, or paint that won’t stick.
- Historic Homes: Many houses in Oregon City feature lath-and-plaster or wood paneling. These surfaces need extra care to prevent chipping or uneven coverage.
- Lead Paint: Homes built before 1978 may contain lead-based paint. Safe removal is a must (see EPA guidelines for lead-safe work practices).
Timing matters too. Schedule interior painting for drier months when humidity is lower and windows can be opened for ventilation.
Step-by-Step Interior Painting Prep Checklist
Ready to roll up your sleeves? Follow these steps to get your home set for a flawless finish. Each task makes a difference—think of it as setting the stage for your painters to shine.
Furniture Moving and Protection 🪑
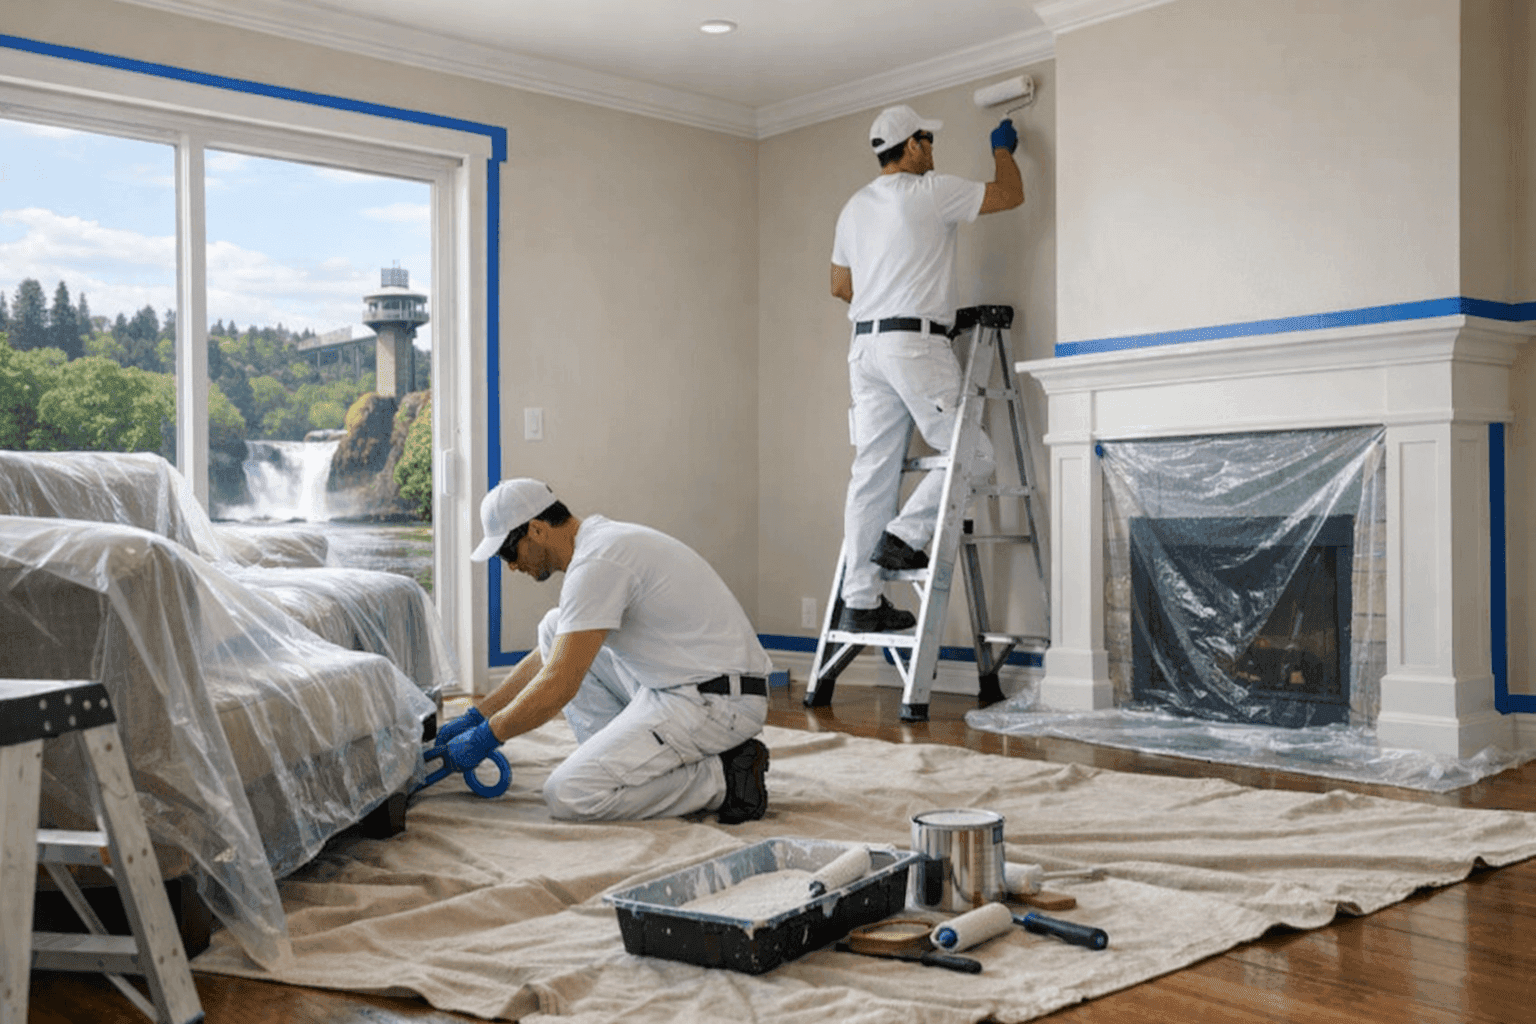
- Move furniture out of the room if possible, or cluster pieces in the center and cover with clean plastic sheeting or drop cloths.
- Remove wall hangings, curtains, and decorative items. Don’t forget to stash hardware in labeled bags for easy reinstallation.
- Lay drop cloths across floors to shield hardwood, carpet, or tile from drips and debris.
Wall Cleaning and Surface Prep
- Dust and vacuum all surfaces—paint loves a clean wall.
- Wash walls with mild soap and water, especially in kitchens or bathrooms where grease or residue may linger.
- For stubborn stains, use a trisodium phosphate (TSP) cleaner (wear gloves and follow product instructions).
- Let walls dry completely before moving on.
Patching Holes and Drywall Repair
- Fill nail holes and small cracks with lightweight spackle or patching compound.
- For larger holes or damaged drywall, use a patch kit or call a pro if you’re unsure.
- Sand patched areas smooth once dry, blending edges with surrounding wall.
- Wipe away dust with a damp cloth.
Taping and Protecting Trim/Moldings 🎨
- Run painter’s tape along baseboards, window frames, and door trim to ensure crisp lines.
- Cover electrical outlets and switches with tape or removable covers.
- Remove vent covers and tape over openings to keep paint out of your HVAC system.
FAQs: Prep Mistakes to Avoid
What happens if I skip cleaning the walls?
Paint may not stick, leading to peeling or bubbling—especially in kitchens and bathrooms.
Is it okay to paint over wallpaper?
In most cases, no. Painting over old wallpaper can cause bubbling and peeling. Remove wallpaper and repair the surface for best results.
Can I skip patching small holes?
Tiny flaws become more obvious after painting. Take the time to fill and sand for a truly smooth finish.
When to Call a Professional
Some prep jobs are best left to seasoned hands. If you spot water damage, mold, or suspect lead paint, it’s time to bring in a certified professional. Likewise, large drywall repairs or challenging surfaces (like textured ceilings) can turn into major headaches for DIYers.
Our team at Oregon City Painting has hands-on experience with a variety of home types throughout the area. We’re trained in safe work practices, use high-quality materials, and sweat the details so your home looks its best.
Related Services
Want to learn more about how we handle the details? Check out our interior painting process and our meticulous surface preparation approach.
Final Thoughts: Prep Now, Enjoy Later
Prepping your Oregon City home for interior painting is like sharpening your tools before a big project. It’s the effort behind the scenes that makes all the difference. Whether you’re tackling it solo or calling in the pros, a little planning goes a long way toward a finish you’ll love for years.
Call Oregon City Painting now — or reach us anytime at (503) 647-6537 .